Setup Guide
Connect Dandex to your AI assistant in minutes
Note: Adding custom connectors currently requires a paid Claude plan (Pro, Team, or Enterprise).
Claude
Open Connectors Settings
Open Claude → Settings → Connectors → Add Custom Connector
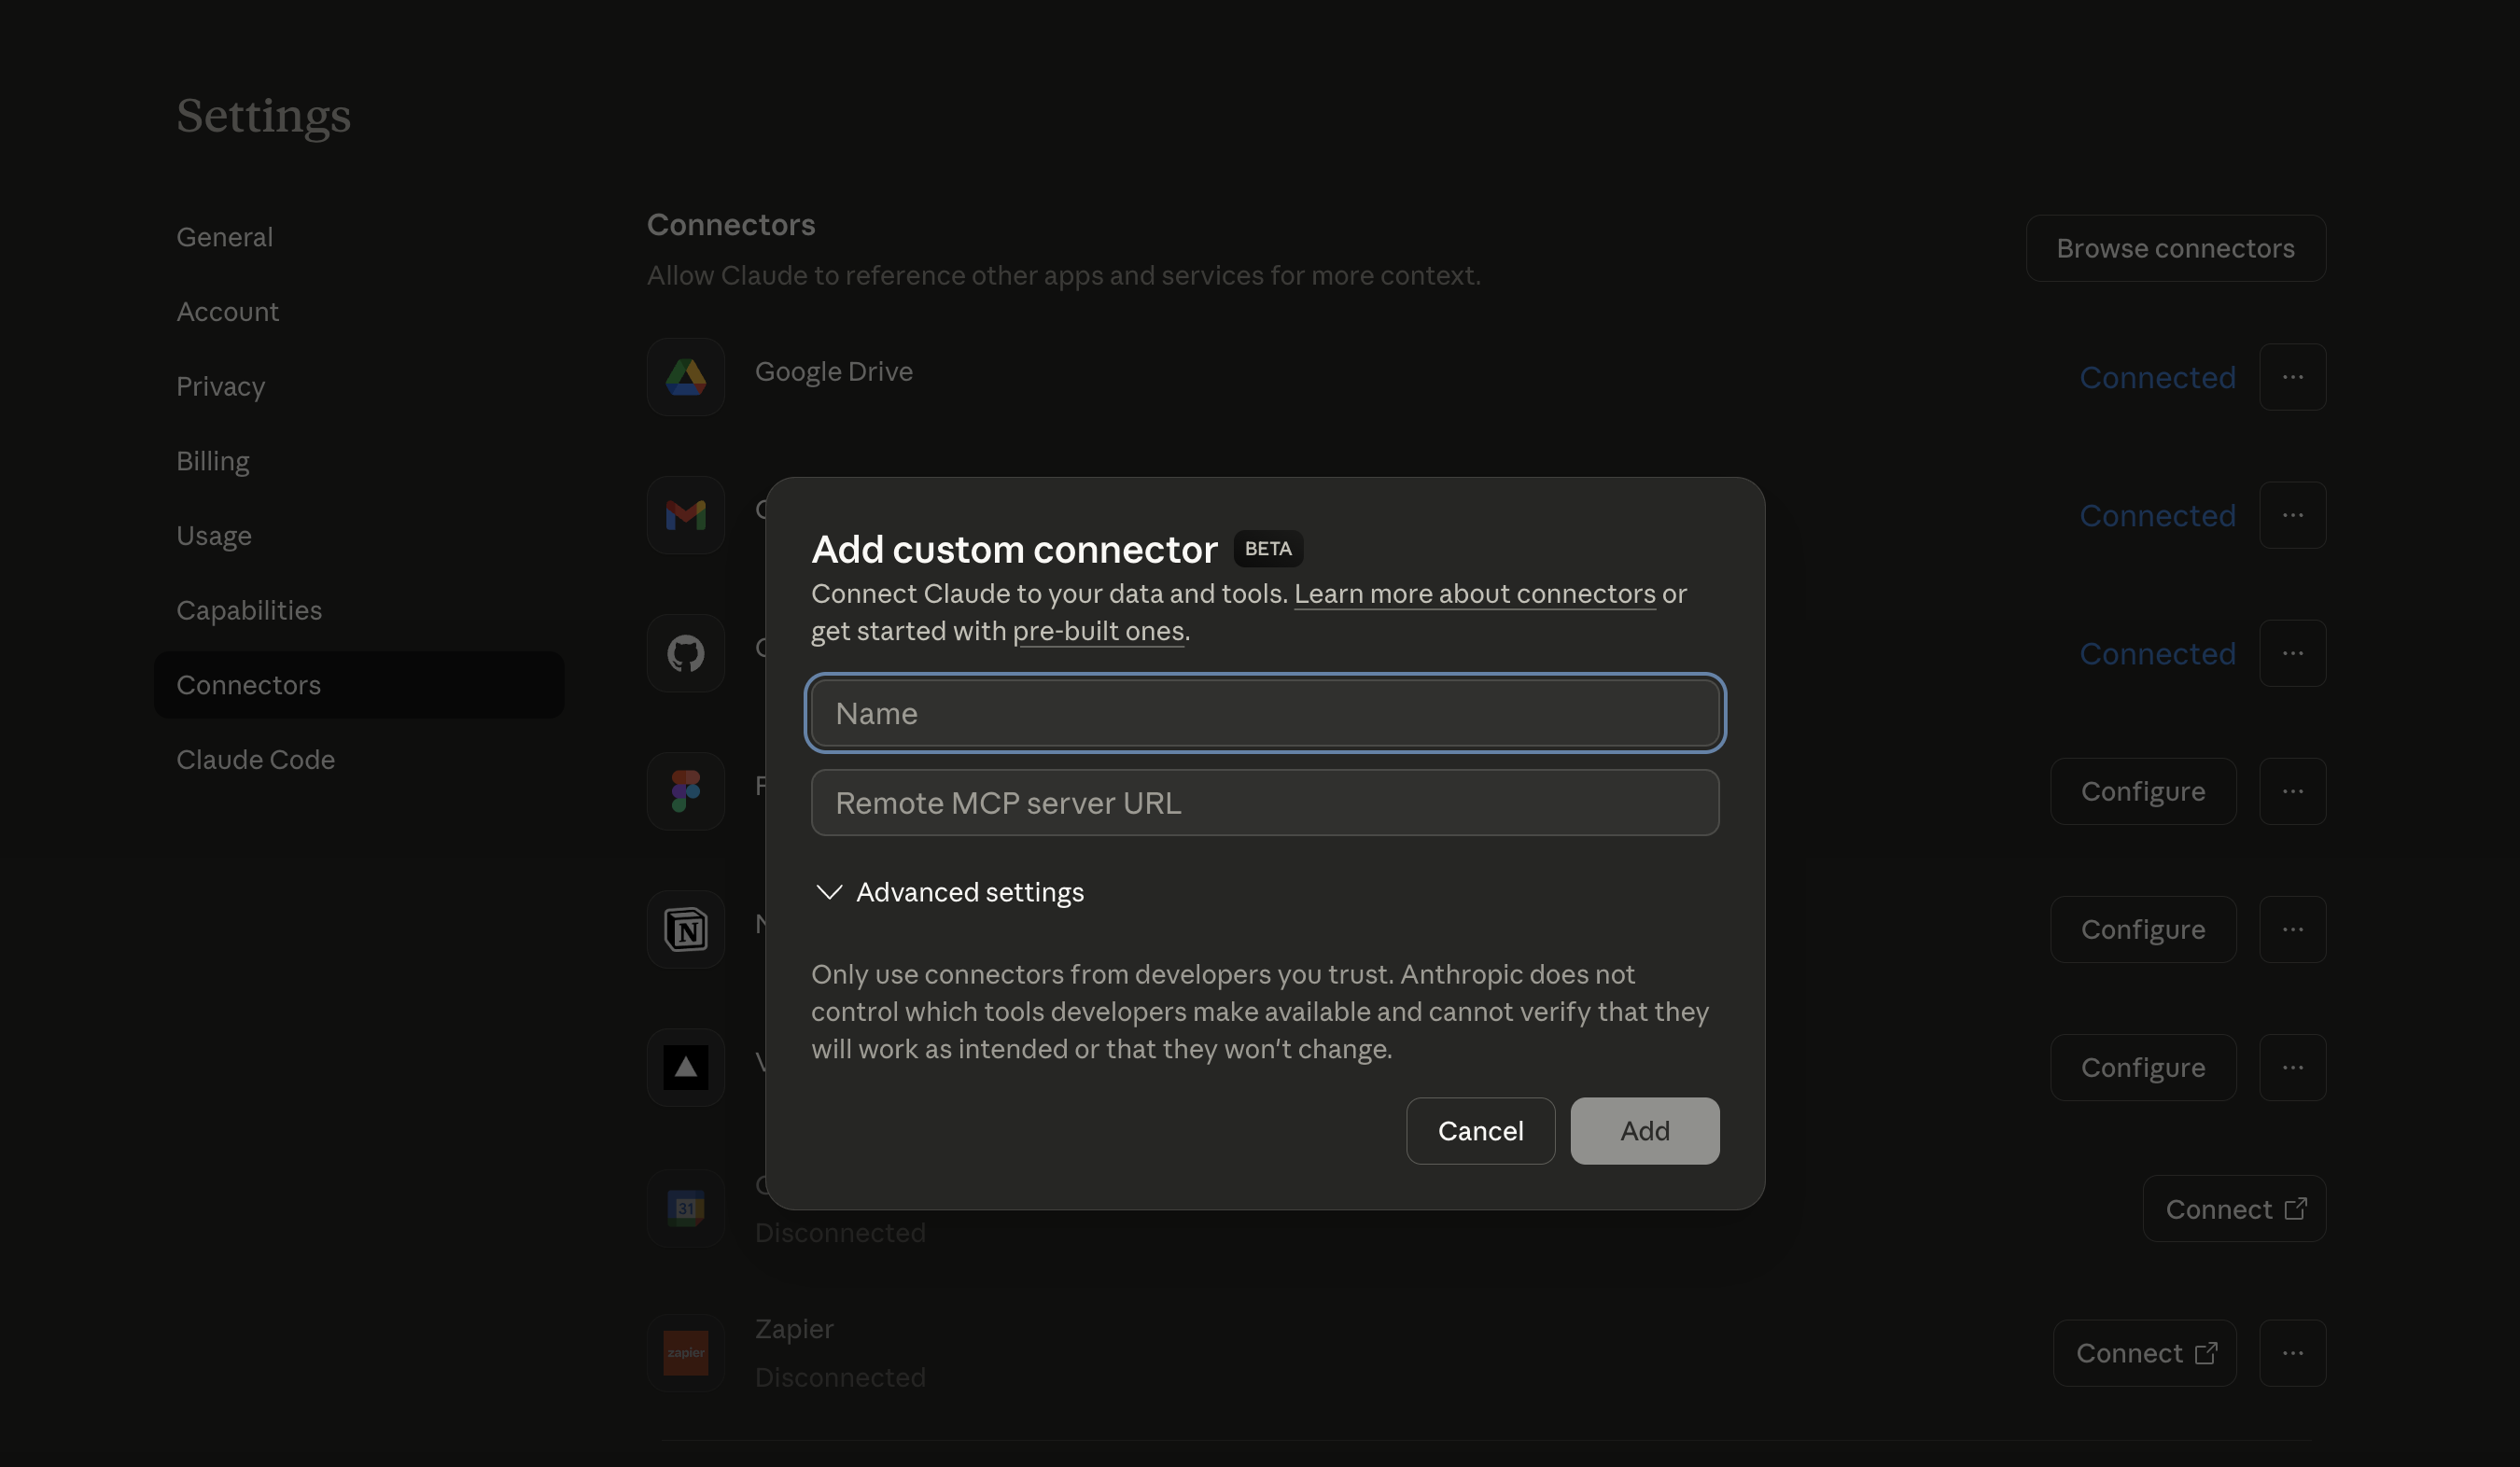
Add Dandex
Enter Dandex as the name and paste the server URL:
https://dandex.ai/mcp?token=YOUR_TOKENReplace YOUR_TOKEN with the token from your welcome email or dashboard
Done!
Dandex tools are now available in your Claude conversations. Try asking:
Claude Desktop
Open the Config File
Open your terminal and run the command for your platform:
macOS:
open "$HOME/Library/Application Support/Claude/claude_desktop_config.json"Windows (PowerShell):
notepad "$env:APPDATA\Claude\claude_desktop_config.json"Linux:
xdg-open "$HOME/.config/Claude/claude_desktop_config.json"If the file doesn't exist yet, create it first or open Claude Desktop → Settings → Developer → Edit Config.
Add the MCP Server Configuration
Paste this into your claude_desktop_config.json:
{
  "mcpServers": {
    "dandex": {
      "command": "npx",
      "args": ["mcp-remote", "https://dandex.ai/mcp?token=YOUR_TOKEN"]
    }
  }
}
Replace YOUR_TOKEN with the token from your welcome email or dashboard
Restart Claude Desktop
Restart Claude Desktop for the changes to take effect. You should see Dandex tools available in your conversations.
Claude Code (CLI)
Run the Add Command
Open your terminal and run:
claude mcp add dandex -- npx mcp-remote "https://dandex.ai/mcp?token=YOUR_TOKEN"Replace YOUR_TOKEN with your token
Verify Installation
Check that Dandex is installed:
claude mcp listYou should see "dandex" in the list of MCP servers.
Scheduled TasksNew
Claude can run tasks automatically on a schedule — daily company monitoring, weekly sales reports, or competitor analysis. This requires a local MCP server (not a web connector).
Important: Scheduled tasks only use local MCP servers. If you set up Dandex via the web connector (claude.ai), you also need the local configuration via Claude Desktop to use scheduled tasks.
Configure local MCP server
Add Dandex to your claude_desktop_config.json (see the Claude Desktop section above):
{
  "mcpServers": {
    "dandex": {
      "command": "npx",
      "args": ["mcp-remote", "https://dandex.ai/mcp?token=YOUR_TOKEN"]
    }
  }
}
This uses mcp-remote to run Dandex as a local stdio server — exactly what scheduled tasks require.
Ensure Node.js is installed
Scheduled tasks run in the background and need npx available. Verify with:
node --version # Must be v18+Create a scheduled task
In Claude Desktop, ask Claude to create a scheduled task. Examples:
Daily Company Monitoring
Monitor a specific company for changesWeekly Sales Lead Report
Find new sales opportunities every weekCompetitor Tracking
Watch for changes at competitor companiesExample: Daily morning briefing
Say this to Claude to create a daily task:
Claude will create the task, and it runs automatically every day at 8am. Results are delivered as a notification.
Pro tip: Install the Dandex AI Skill to teach your AI assistant advanced workflows like credit checks, due diligence reports, sales prospecting, and corporate network analysis.
For more details, see the official Claude MCP documentation.
Get Started
Enter your email to receive your API token and start using Dandex